
power pressure cooker instruction manual
Pressure cookers deliver fast, home-cooked meals․ Numerous sizes and styles exist, catering to diverse cooking needs, offering convenience and efficiency in the kitchen․
What is a Power Pressure Cooker?
A Power Pressure Cooker is a versatile, electric appliance designed to cook food quickly and efficiently using pressurized steam․ Unlike traditional stovetop pressure cookers, it automates the process, offering pre-programmed settings for various dishes․ This innovative kitchen tool combines the functions of a pressure cooker, slow cooker, rice cooker, steamer, and more, all in one convenient device․
It significantly reduces cooking times compared to conventional methods, making it ideal for busy lifestyles․ The sealed environment traps steam, increasing the boiling point of water and cooking food faster while retaining more nutrients and flavor․
Benefits of Using a Power Pressure Cooker
Employing a Power Pressure Cooker delivers numerous advantages․ It drastically reduces cooking times, saving valuable energy and effort․ Food retains more vitamins and minerals due to the shorter cooking duration and sealed environment․ The appliance’s versatility eliminates the need for multiple kitchen gadgets, simplifying meal preparation․
Furthermore, it’s incredibly convenient, often featuring one-pot cooking, minimizing cleanup․ Safety features, like automatic pressure release, provide peace of mind, and consistently delivers flavorful, tender results․

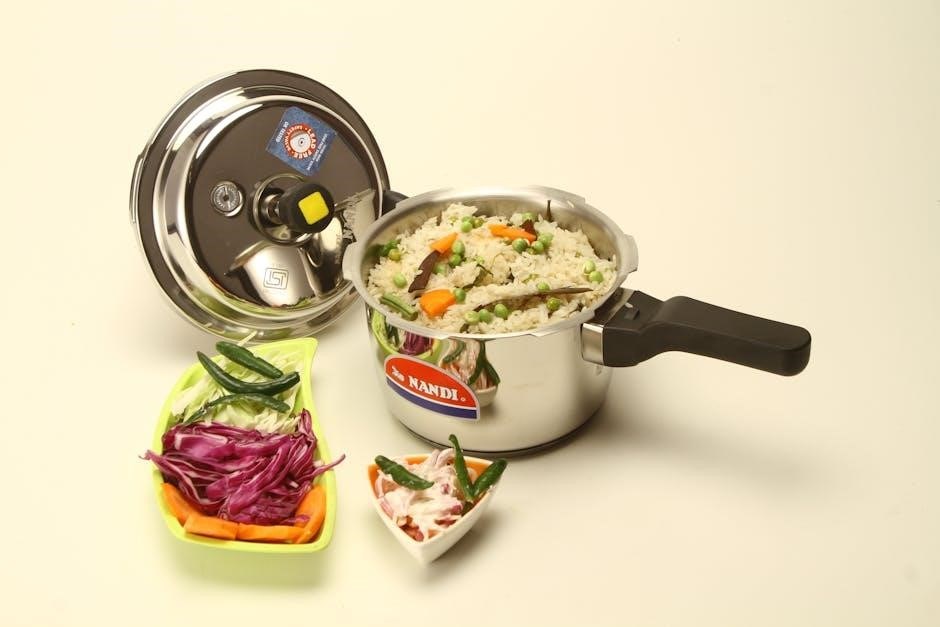
Understanding Your Power Pressure Cooker Components
A pressure cooker consists of a lid, sealing ring, inner pot, and control panel․ Each component plays a vital role in safe and efficient operation․
Lid and Sealing Ring
The lid is crucial for creating a sealed environment, building pressure, and ensuring safe operation․ Always inspect it for damage before each use․ The sealing ring, typically made of silicone, forms a tight seal between the lid and the pot, preventing pressure leaks․
Proper sealing is essential; a damaged or improperly seated ring will hinder pressure build-up․ Regularly check the sealing ring for cracks, dryness, or deformation․ Replacement is necessary when signs of wear appear to maintain optimal performance and safety․ Ensure the lid is correctly locked into place before operation․
Inner Pot
The inner pot is the removable container where food is placed for cooking․ Typically made of stainless steel, it distributes heat evenly and is designed for easy cleaning․ Some models feature non-stick coatings for added convenience, though stainless steel is generally preferred for durability;
Always ensure the inner pot is correctly seated within the cooker base before operation․ Avoid using abrasive cleaners that could damage the surface․ Regularly inspect for dents or warping, as these can affect performance and safety․
Control Panel and Settings
The control panel houses buttons or a digital display for selecting cooking modes and adjusting settings․ Common settings include pressure levels (high/low), cooking time, and delay start․ Familiarize yourself with each function before use, referencing the manual for specific instructions․
Understanding the panel’s indicators – like pressure status and timer displays – is crucial for safe and effective operation․ Some models offer pre-programmed settings for various food types, simplifying the cooking process․
Getting Started: Initial Setup
Before first use, thoroughly inspect all components․ Ensure the sealing ring is properly positioned, and familiarize yourself with the cooker’s safety features․
First-Time Use Instructions
Before your initial cooking experience, remove all packaging materials and thoroughly wash the inner pot, lid, and sealing ring with warm, soapy water․ Ensure the steam release valve and float valve are clear of obstructions․ It’s crucial to understand the proper lid locking mechanism; a secure seal is paramount for safe operation․
Add water to the inner pot – about one cup is sufficient – but do not add food at this stage․ This initial run helps familiarize you with the cooker’s functions and confirms everything is working correctly․ Always refer to the detailed instructions in your specific model’s manual for precise guidance․
Water Test & Safety Check
Perform a water test to verify proper sealing and function․ Add one cup of water to the inner pot, secure the lid, and select a pressure cooking program (low pressure for 5 minutes is ideal)․ Observe if pressure builds and the float valve rises․
Crucially, check for leaks around the lid․ If leaks occur, re-examine the sealing ring’s placement and lid locking mechanism․ Never attempt to force the lid open while pressure remains․ This test confirms safe operation before cooking food, preventing potential hazards․

Cooking Modes and Functions
Power Pressure Cookers offer versatile modes: Pressure Cook, Slow Cook, Steam, Sauté/Brown, and Yogurt, providing diverse cooking options for various recipes and preferences․
Pressure Cook (High & Low)
Pressure cooking significantly reduces cooking times by utilizing high-temperature, pressurized steam․ The High Pressure setting is ideal for tougher cuts of meat, beans, and stews, achieving tenderness in a fraction of the usual time․ Conversely, Low Pressure is suited for delicate foods like vegetables, fish, and grains, preventing overcooking and preserving their texture and nutrients․
Adjusting between these settings allows for precise control over the cooking process, ensuring optimal results for a wide range of dishes․ Remember to always follow recipe guidelines for appropriate pressure levels and cooking durations․
Slow Cook
The Slow Cook function mimics traditional slow cookers, providing low and consistent heat over extended periods․ This is perfect for tenderizing tougher cuts of meat, developing rich flavors in soups and stews, and creating convenient one-pot meals․ Unlike pressure cooking, slow cooking doesn’t require pre-heating or pressurization, offering a “set it and forget it” approach․
Adjustable time settings allow for flexibility, ranging from several hours to overnight cooking․ This function is ideal for busy schedules, delivering delicious, home-cooked meals with minimal effort․
Steam
The Steam function utilizes the power of steam to cook food gently and healthily, preserving nutrients and natural flavors․ This method is excellent for vegetables, fish, and delicate dishes where maintaining texture is crucial․ A steaming rack is typically included to elevate food above the water level, ensuring even cooking․
Steam cooking requires minimal oil, making it a healthier alternative to frying or sautéing․ It’s a versatile function for preparing side dishes or complete meals quickly and efficiently․
Sauté/Brown
The Sauté/Brown function allows you to brown meats and vegetables directly in the inner pot before pressure cooking, building layers of flavor․ This eliminates the need for a separate pan, streamlining the cooking process․ It’s ideal for searing, browning, and developing rich, complex tastes in your dishes․
Use this function with a little oil, ensuring the pot doesn’t become dry․ Monitor closely to prevent burning, and deglaze the pot with liquid before pressure cooking to avoid a “burn” error․
Yogurt
The Yogurt function enables you to create homemade yogurt with precise temperature control․ This feature maintains a consistent warmth, fostering the growth of beneficial bacteria for a creamy, delicious result․ It’s a healthier and cost-effective alternative to store-bought varieties․
Typically, milk is heated, cooled, and then combined with a yogurt starter culture before utilizing the yogurt setting․ Follow recipe guidelines for optimal fermentation times and achieve desired thickness․

Using the Power Pressure Cooker: Step-by-Step
Proper ingredient addition, secure lid placement, and timer setting are crucial․ Understanding pressure release methods—natural or quick—ensures safe and delicious results․
Adding Ingredients and Liquid
Before beginning, ensure your power pressure cooker’s inner pot is securely in place․ Add ingredients according to your recipe, remembering that pressure cooking often requires less liquid than traditional methods․ Generally, at least one cup of liquid is needed to generate steam and build pressure – water, broth, or sauce work well․
Avoid overfilling; never exceed the maximum fill line indicated inside the pot․ For foods that expand during cooking, like beans or grains, fill only halfway․ Layer ingredients strategically, placing denser items at the bottom and more delicate ones on top to prevent burning․
Securing the Lid and Setting the Timer
Carefully align the lid with the cooker base, ensuring the sealing ring is properly positioned within the lid․ Rotate the lid until it locks securely into place – a click or visual indicator confirms proper sealing․ Now, select the appropriate cooking mode and adjust the timer according to your recipe’s instructions․
Most models offer pre-set programs for common foods, or you can manually set the cooking time․ Double-check all settings before initiating the cooking process to guarantee optimal results and safety․
Releasing Pressure: Natural vs․ Quick Release
After cooking, pressure must be released before opening the lid․ Natural Pressure Release (NPR) allows the pressure to dissipate gradually – ideal for soups and stocks to prevent splattering․ Quick Release (QR) involves manually releasing steam via the vent; use caution as steam is extremely hot․
QR is suitable for foods where overcooking isn’t a concern․ Always follow recipe instructions regarding the appropriate release method for best results and food safety․

Safety Precautions
Always prevent burns by carefully releasing pressure and avoiding overfilling․ Ensure proper lid sealing for safe operation and to maintain internal pressure․
Preventing Burns
Hot steam and pressure are inherent risks when using a power pressure cooker․ Always utilize the appropriate pressure release method – natural or quick release – as instructed․ Never attempt to open the lid forcibly while pressure remains inside; this could cause severe burns from escaping steam and hot contents․
Direct the steam away from your face and body during quick release․ Allow the cooker to cool completely before handling the inner pot or attempting cleaning․ Exercise extreme caution, especially when children are present, to avoid accidental contact with hot surfaces or steam․
Avoiding Overfilling
Overfilling the power pressure cooker is a significant safety hazard․ Always adhere to the maximum fill lines indicated inside the inner pot, typically a two-thirds full limit for food and a one-half full limit for liquids like soups and stews․
Remember that food expands during the cooking process․ Exceeding these limits can obstruct the steam release valve, leading to pressure buildup and potential malfunction․ This could result in food splattering or even a dangerous lid dislodgement․
Proper Lid Sealing
Ensuring a proper lid seal is crucial for safe and effective pressure cooking․ Before each use, inspect the sealing ring for cracks, tears, or deformation; replace it if damaged․ Align the lid correctly with the cooker base, following the indicator markings․
Turn the lid until it locks securely into place․ A complete seal is indicated when steam is no longer escaping from around the lid during operation․ Never force the lid open while pressure remains inside․

Cleaning and Maintenance
Regular cleaning extends your cooker’s life․ Wash the inner pot and lid after each use, and maintain the sealing ring for optimal performance․
Cleaning the Inner Pot and Lid
After each use, allow the inner pot to cool completely before washing․ Most inner pots are dishwasher safe, offering convenient cleaning․ However, hand washing with warm, soapy water is also effective, especially for stubborn food residue․ For the lid, carefully disassemble all removable parts, including the sealing ring and steam release valve․ Wash these components thoroughly with soap and water, ensuring no food particles remain․ The lid itself can usually be wiped clean with a damp cloth․ Avoid abrasive cleaners, as they may damage the surface․ Proper cleaning prevents odors and ensures hygienic cooking․
Sealing Ring Care and Replacement
The sealing ring is crucial for building pressure; inspect it after each use for cracks or damage․ Hand wash the ring with mild soap and water, avoiding harsh detergents or abrasive scrubbers․ Over time, the ring will lose elasticity and may retain odors․ Replacement is recommended every 12-18 months, or sooner if noticeable wear occurs․ A properly functioning sealing ring ensures safe and efficient pressure cooking․ Always ensure the ring is correctly positioned before each use to maintain a tight seal and prevent leaks․

Troubleshooting Common Issues
Common problems include “Lid” errors, burning food, or pressure failing to build․ Addressing these promptly ensures safe operation and optimal cooking performance․
“Lid” Error Message
Encountering a “Lid” error typically indicates the cooker hasn’t detected the lid is properly sealed or securely locked into place․ First, ensure the lid is correctly aligned with the cooker base, and rotate it until it clicks․
Verify the sealing ring is correctly positioned within the lid groove, free from cracks or damage, and properly seated․ A damaged or improperly installed ring prevents a secure seal․
Also, check for any food particles obstructing the lid or sealing surface․ A clean sealing area is crucial for proper function․ If the error persists, try removing and re-attaching the lid․
Food Burning on the Bottom
Food burning often results from insufficient liquid or ingredients sticking directly to the inner pot․ Always ensure you’re using the recommended minimum liquid amount for your recipe, as this creates necessary steam․
Consider slightly increasing the liquid if you’re cooking thicker sauces or ingredients prone to sticking․ Before starting, a light coating of oil in the pot can also help prevent burning․
Deglaze the pot immediately after sautéing to lift any browned bits before pressure cooking, preventing them from scorching during the cooking process․
Pressure Not Building
If your Power Pressure Cooker isn’t building pressure, first verify the lid is securely locked in place; a misaligned lid prevents proper sealing․ Ensure the sealing ring is correctly positioned and free from cracks or damage, as this is crucial for a tight seal․
Also, confirm the steam release valve is in the sealing position․ Insufficient liquid can also hinder pressure build-up, so double-check recipe liquid amounts․
Finally, excessive foaming from ingredients like beans or oatmeal can block the steam vent․

Recipes to Get You Started
Explore quick chicken dishes and hearty beef stew recipes designed specifically for your Power Pressure Cooker, simplifying delicious meal preparation․
Quick & Easy Chicken Recipes
Discover effortless chicken dinners with your Power Pressure Cooker! Try a simple Lemon Herb Chicken – combine chicken pieces, lemon juice, herbs, and broth, then pressure cook for 12-15 minutes․ For a flavorful Chicken Taco filling, use salsa, taco seasoning, and chicken breasts, cooking for just 10 minutes․
These recipes minimize prep time and maximize flavor․ Remember to always follow safety guidelines when handling cooked chicken and ensure it reaches a safe internal temperature․ Enjoy quick, healthy, and delicious meals with minimal effort!
Delicious Beef Stew
Create a hearty and flavorful beef stew in a fraction of the time with your Power Pressure Cooker! Brown stew meat, then add carrots, potatoes, onions, beef broth, and seasonings․ Pressure cook on high for 35-40 minutes, followed by a natural pressure release․
The result is tender, fall-apart beef and perfectly cooked vegetables․ For a richer flavor, add a splash of red wine during the browning process․ Enjoy a comforting classic made easy!