
honeywell th6220u2000 installation manual pdf
Welcome to the Honeywell TH6220U2000 Installation Manual, your comprehensive guide for installing and configuring this advanced programmable thermostat. Designed for compatibility with various HVAC systems, including gas, oil, electric, and heat pumps, this manual provides step-by-step instructions, safety guidelines, and configuration options to ensure a seamless setup. Whether you’re a professional installer or a homeowner, this manual offers detailed insights to optimize your thermostat’s performance.
1.1 Overview of the Honeywell TH6220U2000 Thermostat
The Honeywell TH6220U2000 is a programmable thermostat designed for compatibility with various HVAC systems, including gas, oil, electric, and heat pumps. It supports up to 2 stages of heating and cooling, offering flexible temperature control. With its user-friendly interface and advanced features like auto changeover and energy-saving modes, this thermostat provides efficient and reliable performance for residential heating and cooling needs.
1.2 Importance of the Installation Manual
The installation manual is essential for guiding users through the setup, programming, and maintenance of the Honeywell TH6220U2000 thermostat. It ensures proper installation, safety, and optimal performance, while also providing troubleshooting tips and configuration options. Adhering to the manual prevents errors, guarantees compatibility with HVAC systems, and helps users maximize energy efficiency and system longevity.
Pre-Installation Requirements
Verify system compatibility with gas, oil, electric, or heat pump systems. Ensure all necessary tools and materials are available for a smooth installation process.
2.1 System Compatibility (Gas, Oil, Electric, Heat Pumps)
The Honeywell TH6220U2000 is compatible with various HVAC systems, including gas, oil, electric, and heat pumps. It supports up to 2 stages of heating and cooling, making it versatile for different home setups. Ensure compatibility with your specific system type before installation to guarantee optimal performance and efficiency.
2.2 Tools and Materials Needed
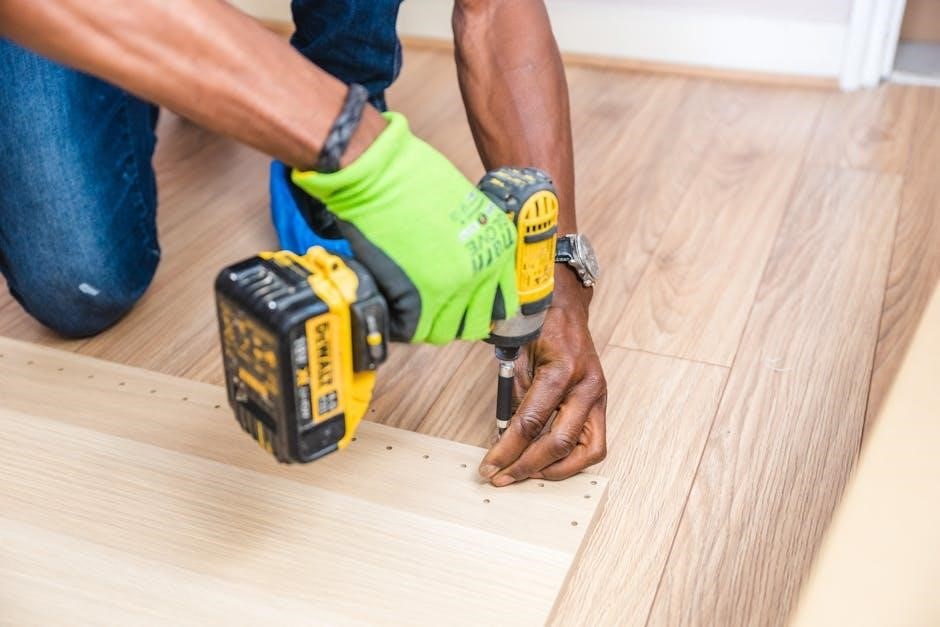
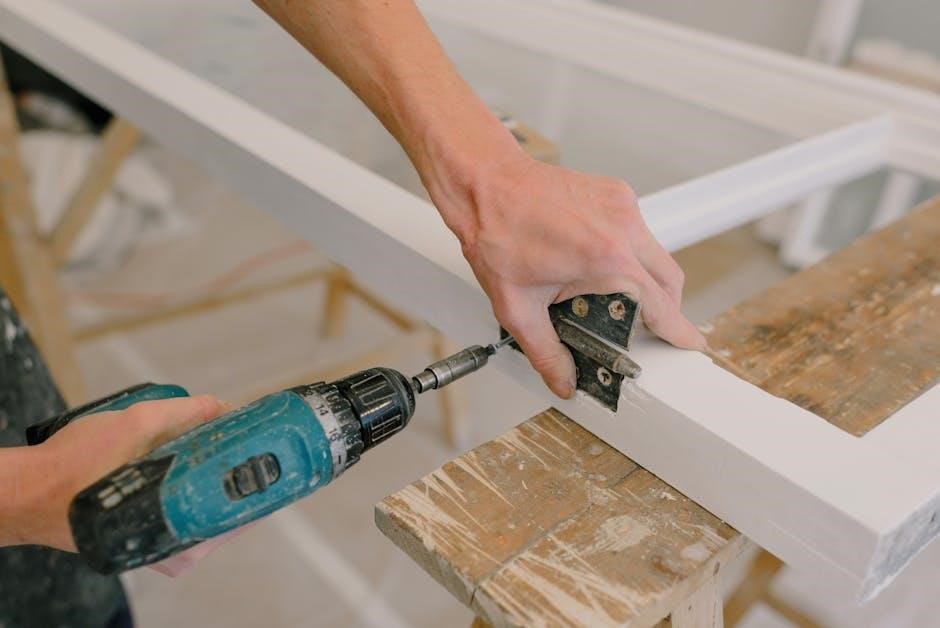
To install the Honeywell TH6220U2000, you’ll need a drill, screwdrivers (Phillips and flathead), a level, and wiring labels. Additional materials include the provided J-box adapter, decorative cover plate, screws, anchors, and 2 AA batteries. Ensure all tools and materials are readily available to streamline the installation process and avoid delays.
Installation Steps
Prepare the thermostat, mount it securely, connect the wiring according to the diagram, and perform final system checks before powering up the device.
3.1 Preparing the Thermostat for Installation
Begin by unpacking the Honeywell TH6220U2000 thermostat and verifying all components, including the UWP mounting system, J-box adapter, and decorative cover plate. Remove any protective packaging and ensure the device is free from damage. Install the 2 AA batteries if not pre-installed. Turn off power to your HVAC system at the circuit breaker before starting the installation process to ensure safety. Optional accessories like the decorative cover plate can be prepared for later use.
3.2 Mounting the Thermostat
Mount the Honeywell TH6220U2000 using the included UWP mounting system, ensuring a secure fit on the wall. For systems without a junction box, attach the J-box adapter first. Align the thermostat with the mounting screws or adapter, ensuring level placement. Snap the thermostat onto the mounting plate for a screwless, streamline installation. This design provides a clean, professional appearance and easy access for future adjustments.
3.3 Wiring the Thermostat
Connect the thermostat wires to the appropriate terminals (R, Rc, C, Y, W, G) as per your HVAC system configuration. Refer to the wiring diagram for specific connections. Ensure the R and Rc terminals are properly linked if using a dual-transformer system. For heat pump setups, verify the changeover valve wiring matches the system requirements. Secure all connections tightly and double-check before powering up the system.
3.4 Final Checks and Power-Up
Before powering up, ensure all wires are securely connected and double-check the system configuration. Turn off the HVAC system power at the circuit breaker. Verify the thermostat is properly mounted and leveled. Once powered up, the thermostat should light up, and you can proceed with initial setup. Ensure all safety precautions are followed to avoid electrical hazards during this process.
System Configuration and Settings
Configure heating and cooling stages, changeover valves, and auto changeover differentials for optimal system performance. Adjust settings based on your HVAC system type and preferences for precise temperature control.
4.1 Setting Up Heating and Cooling Stages
Set up heating and cooling stages to match your HVAC system. The Honeywell TH6220U2000 supports up to 2 stages of heating and 2 stages of cooling. Configure stages in the installer settings to ensure proper system operation. Refer to the manual for detailed instructions on stage configuration and compatibility with your specific HVAC setup for optimal performance.
4.2 Configuring the Changeover Valve
Configure the changeover valve to switch between heating and cooling modes efficiently. Set the changeover valve type in the installer menu. Choose between manual or automatic operation. Adjust the auto changeover differential to prevent frequent switching. Ensure proper settings for heat pumps or traditional systems. Refer to the manual for specific instructions on configuring the changeover valve for your HVAC system.
4.3 Adjusting the Auto Changeover Differential
Adjust the auto changeover differential to optimize your system’s performance; This parameter determines the temperature difference required to switch between heating and cooling modes. Set the differential between 0.5°F to 2.5°F, with the default at 0.5°F. Access this setting in the installer menu under Function 303. Proper adjustment prevents excessive switching, ensuring comfort and efficiency in your HVAC system.
Programming the Thermostat
Program the Honeywell TH6220U2000 to customize temperature settings, ensuring energy efficiency and comfort. Use the installer setup options to configure schedules and advanced features for optimal performance.
5.1 Scheduling Temperature Settings
The Honeywell TH6220U2000 allows you to schedule temperature settings for optimal comfort and energy savings. Set specific temperatures for different times of the day and days of the week. Use the built-in scheduler to create a custom heating and cooling plan, ensuring your home is always at the right temperature when you need it most.
5;2 Understanding Installer Setup Options
The Honeywell TH6220U2000 offers advanced installer setup options for precise system customization. Configure settings like heat/cool stages, changeover valve operation, and auto changeover differential. Access Contractor Mode by holding the Honeywell Home logo for 5 seconds to unlock advanced features. These options ensure optimal system performance and compatibility with various HVAC configurations, guided by detailed instructions in the manual.

Troubleshooting Common Issues
Identify common installation mistakes and error codes specific to the Honeywell TH6220U2000. Refer to the manual for solutions to issues like wiring errors or system incompatibility.
6.1 Common Installation Mistakes
Common installation mistakes include incorrect wiring connections, such as improper terminal assignments or failure to remove the R/Rc jumper. Ensure compatibility with your HVAC system type and stage configuration. Incorrectly setting the changeover valve or ignoring the auto changeover differential can lead to improper operation. Always verify system settings match your equipment specifications to avoid malfunctions or damage.
6.2 Error Codes and Their Solutions
Common error codes include E1, E2, and E3, often indicating issues like low battery, wiring faults, or system incompatibility; Refer to the manual for specific solutions, such as replacing batteries or checking wire connections. Resetting the thermostat or verifying system configuration settings can resolve many issues. Ensure proper installation to minimize errors and maintain optimal performance.
Safety Precautions
Always turn off power to the HVAC system before installation or maintenance. Handle wiring carefully to avoid electrical shock. Follow all safety guidelines in the manual to ensure proper installation and operation of the Honeywell TH6220U2000 thermostat.
7.1 Electrical Safety Guidelines
Always disconnect power to the HVAC system before installation or maintenance to avoid electrical shock. Use a voltage tester to confirm power is off. Ensure proper grounding of all components and avoid overloading circuits. Follow all electrical safety codes and guidelines outlined in the manual to prevent hazards during installation or operation.
7.2 Handling the Thermostat and Wiring
Handle the thermostat and wiring with care to prevent damage. Avoid bending or pinching wires, which can cause malfunctions. Ensure connections are secure and correct to maintain system performance. Use the provided J-box adapter if necessary for stable mounting. Keep the thermostat clean and free from debris to ensure accurate temperature sensing and optimal functionality.
Additional Resources
Access the Honeywell TH6220U2000 PDF manual online for detailed instructions. Visit Honeywell’s official website for FAQs and customer support. Contact customer care at 1-800-468-1502 for assistance.
8.1 Downloading the PDF Manual
The Honeywell TH6220U2000 installation manual is available as a free PDF download from Honeywell’s official website or trusted manual databases like ManualsLib. Visit the support section, search for “TH6220U2000,” and select the Installation Instructions Manual or User Manual. Ensure compatibility with your HVAC system for optimal performance.
8.2 Accessing Online Support and FAQs
Honeywell offers extensive online support and FAQs to assist with the TH6220U2000 installation and operation. Visit Honeywell’s official website or trusted platforms like ManualsLib for troubleshooting guides, error code solutions, and installation tips. Additionally, contact Honeywell’s customer care at 1-800-468-1502 for personalized support and ensure a smooth setup process for your thermostat.
Congratulations on completing the Honeywell TH6220U2000 installation. This guide provided detailed steps for a smooth setup, ensuring optimal performance. For further support, visit Honeywell’s official website or download the Honeywell Home app.
9.1 Summary of Key Installation Steps
Ensure system compatibility, prepare tools, and follow wiring diagrams. Mount the thermostat securely, connect wires accurately, and perform final checks. Power up and configure settings for optimal performance. Always refer to the manual for specific instructions and safety guidelines to avoid errors and ensure a successful installation.
9.2 Final Tips for Optimal Performance
For optimal performance, ensure the thermostat is installed in a location with stable temperatures, away from direct sunlight and drafts. Regularly clean the device and replace batteries as needed. Utilize the Honeywell Home app for remote monitoring and updates. Adjust settings seasonally to enhance energy efficiency and comfort. Proper calibration ensures accurate temperature control. Schedule regular maintenance to maintain functionality.
Wiring Diagrams and Schematics
Refer to the wiring diagrams for detailed connections, including R, Rc, Y, and G terminals. Schematics cover 2H/1C and 5-wire systems, ensuring proper setup for gas, oil, electric, or heat pump configurations.
10.1 Understanding the Wiring Diagram
The wiring diagram provides a visual guide for connecting the Honeywell TH6220U2000 to your HVAC system. It includes detailed illustrations for 2H/1C and 5-wire configurations, ensuring compatibility with gas, oil, electric, or heat pump systems. Key terminals like R, Rc, Y, and G are highlighted, with clear labels for auxiliary heat and fan connections. This section helps installers avoid common mistakes and ensures proper system operation.
10.2 Advanced Wiring Configurations
Advanced wiring configurations for the Honeywell TH6220U2000 include multi-stage heating and cooling setups, as well as heat pump systems. The thermostat supports up to 2 stages of heating and cooling, with optional connections for auxiliary heat and two-speed fan control. Specific terminals like Y2 (second stage cooling) and W2 (second stage heating) enable precise system control. Additionally, the J-box adapter and decorative cover plate simplify installations, ensuring a clean and professional finish.
Using Optional Features
The Honeywell TH6220U2000 offers optional features like the decorative cover plate and J-box adapter for a cleaner installation. These accessories enhance both functionality and aesthetics, ensuring a professional finish while maintaining system performance.
11.1 Installing the Decorative Cover Plate
The decorative cover plate enhances the thermostat’s appearance and covers any paint gaps from previous installations. To install, simply align it with the thermostat’s base and secure it using the provided screws. Ensure a flush mount for a seamless look. This optional feature is ideal for maintaining a modern aesthetic while protecting the wall surface.
11.2 Utilizing the J-Box Adapter
The J-Box Adapter is included for secure installation on an electrical junction box. It ensures a level mount and proper fit, even without an existing wall plate. Compatible with standard junction boxes, this adapter simplifies installation and provides a clean, professional appearance. Use the provided screws to secure the adapter, then attach the thermostat for a seamless setup.
Maintenance and Upkeep
Regularly clean the thermostat to prevent dust buildup. Replace batteries annually for optimal performance. Update software periodically for enhanced functionality. Refer to the manual for detailed guidelines.
12.1 Cleaning the Thermostat
Regular cleaning ensures optimal performance. Use a soft, dry cloth to wipe the thermostat’s exterior and screen. Avoid harsh chemicals or liquids, which may damage the device. For stubborn marks, lightly dampen the cloth with water, but ensure it’s not soaking wet. Turn off power before cleaning to prevent electrical issues. Gently wipe the surface, paying attention to buttons and vents. This maintains functionality and appearance.
12.2 Replacing Batteries
To replace the batteries in your Honeywell TH6220U2000 thermostat, first turn off power to the system. Remove the old 2 AA batteries from the battery compartment. Insert new high-quality AA batteries, ensuring correct polarity. Replace the compartment cover securely. If the thermostat requires hardwiring, batteries may not be needed. Always use fresh batteries for optimal performance and reliability.

Compatibility with Smart Home Systems
The Honeywell TH6220U2000 is compatible with smart home systems, integrating seamlessly with the Honeywell Home App for remote control and advanced settings. Contractor Mode offers additional customization options.
13.1 Integrating with the Honeywell Home App
Integrate your Honeywell TH6220U2000 thermostat with the Honeywell Home App for enhanced smart home functionality. Download the app from the App Store or Google Play to remotely control temperature settings, monitor energy usage, and receive system alerts. The app also supports Contractor Mode, enabling advanced configurations and tailored system adjustments for optimal performance and energy efficiency.
13.2 Using Contractor Mode for Advanced Settings
Activate Contractor Mode on your Honeywell TH6220U2000 thermostat by pressing and holding the Honeywell Home logo for 5 seconds, then tapping Confirm. This mode allows professionals to access advanced settings, configure system parameters, and optimize performance; Use this feature to tailor settings like changeover differentials, staging, and more, ensuring the system meets specific installation requirements for maximum efficiency.

Environmental Considerations
The Honeywell TH6220U2000 promotes energy efficiency, reducing environmental impact. Always recycle old thermostats responsibly and follow eco-friendly practices during installation and maintenance to support sustainability goals.
14.1 Energy Efficiency Tips
Optimize energy savings by programming temperature settings when your home is unoccupied or during sleep hours. Use the auto-changeover feature to efficiently switch between heating and cooling modes. Regularly clean the thermostat to ensure accurate temperature readings. Schedule maintenance checks to maintain system efficiency. These practices reduce energy consumption while minimizing your environmental footprint.
14.2 Recycling Old Thermostats
Properly recycle your old thermostat to protect the environment and comply with local regulations. Check for local e-waste facilities or programs that accept thermostats, especially those containing mercury. Many retailers and manufacturers, including Honeywell, offer recycling options. Visit the Honeywell Home app or website for guidance on eco-friendly disposal methods to ensure responsible recycling of your old device.
Customer Support and Warranty Information
Contact Honeywell Customer Care toll-free at 1-800-468-1502 for assistance. Visit the Honeywell Home app or website for support and warranty information. Honeywell Limited, Scarborough, Ontario.
15.1 Contacting Honeywell Customer Care
For assistance with your Honeywell TH6220U2000 thermostat, contact Honeywell Customer Care toll-free at 1-800-468-1502. Visit the Honeywell Home app or website for additional support resources, including FAQs, manuals, and troubleshooting guides. You can also access the Honeywell Home app from the App Store or Google Play for advanced installation features and configuration options.
15.2 Understanding the Warranty Terms
The Honeywell TH6220U2000 thermostat is backed by a limited warranty, covering parts for up to 5 years and batteries for 1 year from the date of purchase. Labor costs are not included. For extended warranty benefits, register your product online. Refer to the warranty section in the PDF manual or contact Honeywell Customer Care for detailed terms and conditions.