
handheld sewing machine instructions pdf
Safety Precautions
Always follow safety guidelines to avoid injuries or damage. Keep fingers away from moving parts, especially the needle. Use the correct needle plate and proper needles. Avoid loose clothing and tie back long hair. Place the machine on a stable, heat-resistant surface. Unplug when not in use and keep out of children’s reach. Follow all instructions carefully to prevent burns, fire, or electric shock.
1.1 General Safety Warnings
Read all instructions carefully before using the handheld sewing machine. Always prioritize safety to avoid accidents. Keep fingers and loose clothing away from moving parts, especially the needle. Ensure long hair is tied back and avoid wearing jewelry that could get caught. Use the machine on a stable, heat-resistant surface; Never leave the machine unattended while in operation. Keep it out of reach of children and pets. Avoid using the machine near water or in humid conditions. Unplug the machine when not in use or before cleaning. Follow all safety guidelines to prevent burns, fire, or electric shock. Do not modify the machine or use damaged parts. Always use the correct needle type and follow threading instructions. Proper usage ensures safe and effective operation.
- Keep the machine away from flammable materials.
- Avoid touching hot surfaces during operation.
- Never use the machine while fatigued or distracted;
By adhering to these warnings, you can enjoy safe and efficient sewing experiences.
1.2 Specific Safety Instructions
Adhere to specific safety guidelines to ensure safe operation of your handheld sewing machine. Always use the correct needle plate, as the wrong one can cause needle breakage. Install the needle with the flat side facing forward and use only recommended needle types. Avoid using bent or damaged needles, as they can cause injury or machine damage. Never touch the needle or moving parts while the machine is in operation. Keep the machine away from flammable materials and avoid sewing near water or in humid environments. Do not sew through thick or hard materials that could overload the machine. Always turn off the machine before replacing needles or making adjustments. Use the machine only for its intended purpose and follow the manufacturer’s guidelines for power sources and battery usage. Proper handling ensures a safe and efficient sewing experience.
- Use the correct needle plate to prevent breakage.
- Install needles with the flat side facing forward.
- Avoid sewing through hard or thick materials.
By following these specific instructions, you can minimize risks and ensure optimal performance.
1.3 Handling Moving Parts Safely
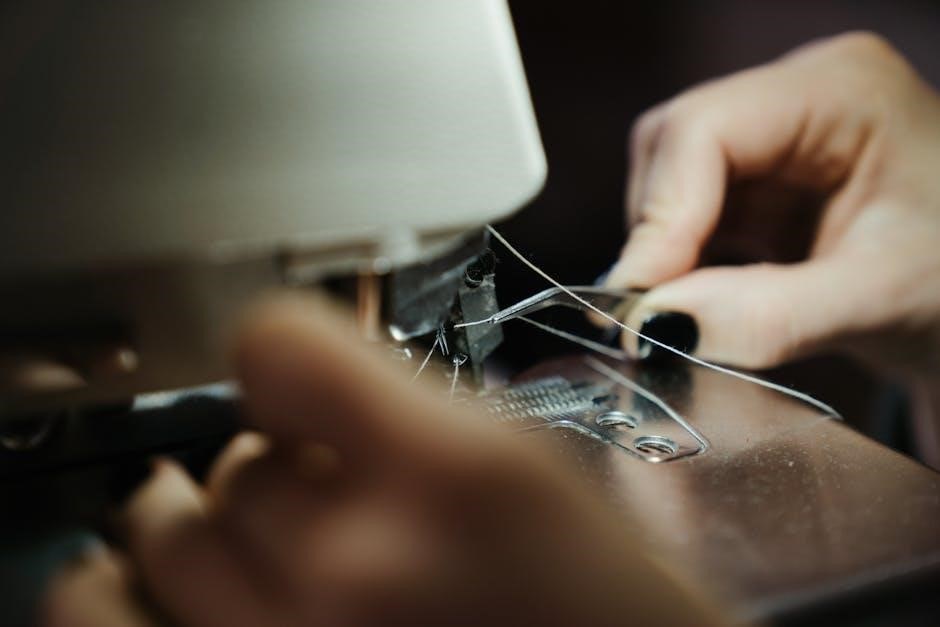
Exercise extreme caution when handling moving parts of your handheld sewing machine to prevent injuries. Always keep fingers and loose clothing away from the needle and other moving components. Never touch the needle or rotating parts while the machine is in operation. Ensure the machine is placed on a stable, flat surface to avoid accidental movement. Use the provided accessories, such as the needle threader, to avoid direct contact with sharp parts. When threading, gently guide the thread through the machine without forcing it, as this could cause breakage or malfunction. After use, unplug the machine and allow it to cool before handling internal components. Regularly inspect moving parts for damage or wear and replace them as needed to maintain safe operation. Always follow the manufacturer’s guidelines for handling and servicing moving parts to ensure your safety and the machine’s longevity.
- Keep fingers away from the needle and moving parts.
- Use provided tools for threading and adjustments.
- Inspect parts regularly for damage or wear.
Proper handling of moving parts ensures a safe and efficient sewing experience.
Getting Started
Begin by carefully unboxing your handheld sewing machine and inspecting its components. Read the manual thoroughly to understand its features and operation. Ensure all parts are securely assembled and ready for use. Familiarize yourself with the power switch, speed settings, and threading mechanisms before starting your first project. Proper setup and preparation are key to a smooth sewing experience.
2.1 Unboxing and Initial Setup
Start by carefully unboxing your handheld sewing machine and inspecting its contents. Ensure all accessories, such as needles, bobbins, and threading tools, are included. Place the machine on a flat, stable surface and remove any protective packaging. Familiarize yourself with the machine’s components, including the power switch, spool pin, and needle area. If your machine uses batteries, insert them according to the manual’s instructions. For models with a USB connection, ensure the cable is securely attached. Before first use, thread the machine as described in the manual. Always refer to the provided instructions for specific setup requirements, as slight variations may exist between models. Proper initial setup ensures smooth operation and prevents potential issues during use. Take your time to align everything correctly and double-check that all parts are securely in place.
2.2 Identifying Machine Parts
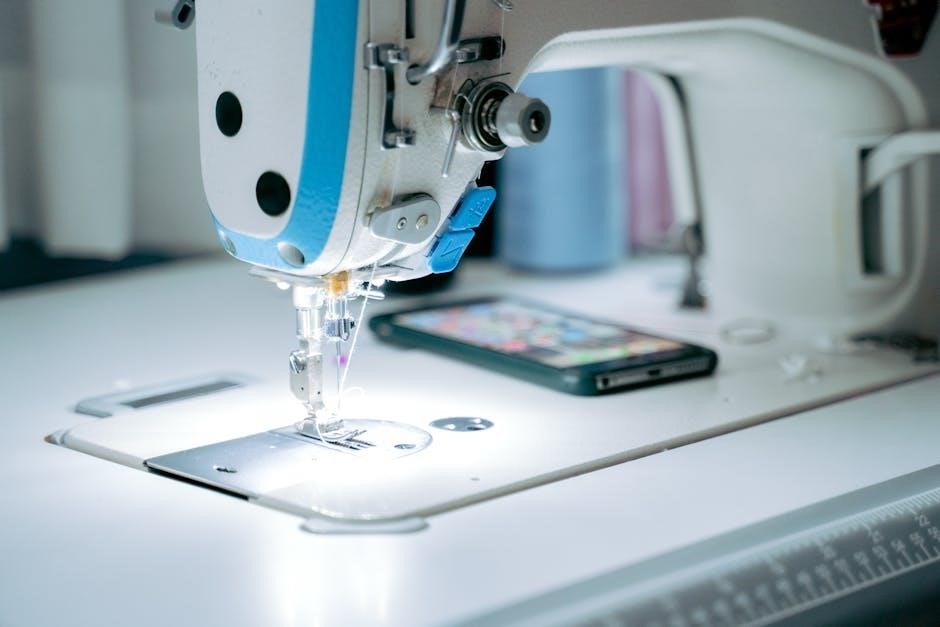
Familiarize yourself with the key components of your handheld sewing machine to ensure proper operation. The machine features a sewing needle, spool pin for thread attachment, and a bobbin area for winding thread. Locate the power switch, typically positioned for thumb operation, and the speed control buttons. The rotary wheel adjusts the needle’s position, and the needle plate protects the working area. Identify the thread cutter, if included, to trim excess thread easily. Some models may have a USB port for charging or a battery compartment. Take time to study the machine’s layout, as described in the manual, to understand each part’s function. Proper identification of these components is essential for efficient and safe operation. Refer to the provided diagrams or illustrations for a clear visual guide, ensuring you can locate and use each part correctly. This knowledge will help you navigate the machine confidently during setup and sewing tasks.
Operating the Machine
Hold the machine firmly, operate the power switch with your thumb, and adjust speed using the control buttons. Ensure the needle is properly threaded before starting your project.
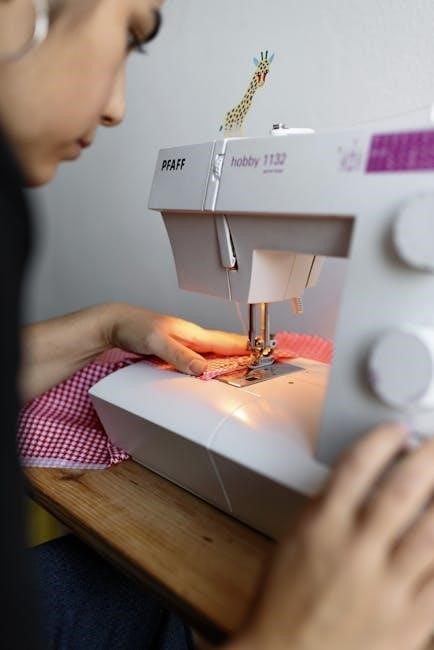
3.1 Step-by-Step Usage Guide
Follow these steps to operate your handheld sewing machine effectively:
- Load 4 AA batteries into the machine or connect via USB power.
- Attach the desired thread using the spool pin and pass it through the machine.
- Thread the needle by pulling at least 2 inches of thread from back to front.
- Turn on the machine using the power switch and select the desired speed.
- Hold the machine firmly and begin sewing, guiding the fabric smoothly.
- Keep the fabric taut but not tight to maintain even stitching.
- Stop periodically to check progress and adjust as needed.
Ensure the machine is stable and well-lit during use. Always follow the instructions for optimal performance and safety.
3.2 Speed Control and Settings
Your handheld sewing machine offers adjustable speed settings for precise control. Use the speed control button to select between two modes: fast (2 dots) or slow (1 dot). Choose the slow setting for delicate fabrics or intricate stitching, and the fast setting for thicker materials or straight-line sewing. Always start with the slow setting to ensure accurate stitching and gradually increase speed as needed.
- For lightweight fabrics like cotton or silk, use the slow setting to prevent puckering.
- For heavier fabrics like denim, switch to the fast setting for stronger stitches;
Maintain even tension by guiding the fabric smoothly. Adjust the speed according to the complexity of your project for optimal results. Proper speed control ensures consistent stitching and extends the machine’s lifespan. Refer to the manual for specific speed recommendations for various fabrics and projects.
Maintenance and Care
Regularly clean the needle plate with a brush and lubricate moving parts. Use quality sewing machine oil to prevent rust and ensure smooth operation. Replace needles and bobbins as needed for optimal performance.
4.1 Cleaning the Machine
Regular cleaning is essential to maintain the performance of your handheld sewing machine. Turn off and unplug the machine before cleaning. Use a soft-bristled brush to remove lint, thread, and debris from the needle plate, bobbin area, and other visible parts. Gently wipe the exterior with a dry, lint-free cloth to prevent dust buildup. For stubborn dirt, dampen the cloth slightly but avoid using harsh chemicals or liquid cleaners, as they may damage the machine. Never insert cleaning tools or liquids into internal mechanisms. Use compressed air cautiously to clean hard-to-reach areas. Clean after each use to prevent thread and lint from accumulating. Regular maintenance ensures smooth operation and extends the machine’s lifespan. Always refer to the manual for specific cleaning recommendations tailored to your machine model.
4.2 Lubrication and Oil Usage
Proper lubrication is crucial for maintaining your handheld sewing machine’s performance. Use high-quality sewing machine oil to prevent rust and ensure smooth operation. Apply a few drops of oil to moving parts, such as the needle bar, shuttle hook, and gears, after cleaning. For frequent use, lubricate the machine at least once a week. Avoid over-lubrication, as excess oil can attract lint and dust. Gently wipe off any excess oil with a clean cloth to prevent residue buildup. Never use household oils, as they may damage the machine’s components. Regular lubrication extends the machine’s lifespan and ensures consistent stitching quality. Always refer to the manual for specific lubrication points and recommendations tailored to your machine model.
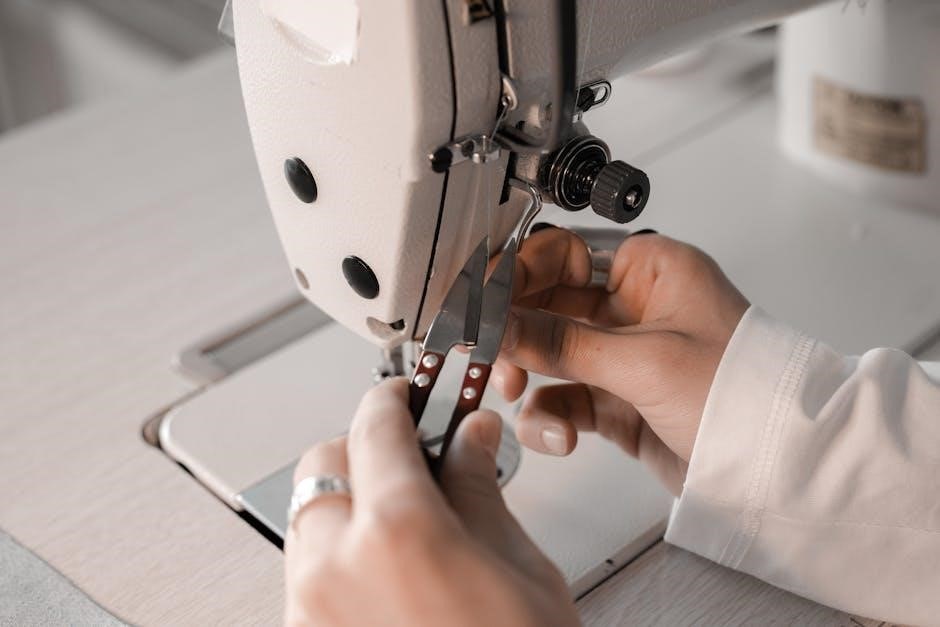
4.3 Replacing Needles and Bobbins
To replace the needle, turn off the machine and allow it to cool. Gently pull the old needle downward, and discard it. Insert the new needle with the flat side facing forward, securing it firmly. For bobbin replacement, lift the needle arm and remove the bobbin case. Place a new bobbin, ensuring the thread unwinds correctly. Reattach the bobbin case and thread the machine as instructed. Always use compatible needles and bobbins for your model. If the needle breaks, stop use immediately to avoid damage. Regularly check and replace worn or damaged needles to maintain stitching quality and prevent thread breakage. Proper installation ensures smooth operation and extends the machine’s lifespan. Refer to your manual for specific guidance tailored to your handheld sewing machine model.
Troubleshooting Common Issues
Identify and resolve common issues like thread breakage or uneven stitching by checking thread tension, needle alignment, and machine oil levels. Consult the manual for specific solutions.
5.1 Identifying Common Errors
Common issues with handheld sewing machines include thread breakage, uneven stitching, and machine jamming. Thread breakage often occurs due to improper tension, using the wrong needle size, or low-quality thread. Check the thread path for tangles or knots. Uneven stitching may result from incorrect needle alignment or insufficient fabric stabilization. If the machine jams, turn it off, remove the battery, and gently clear any obstructing debris. Consult the manual for specific error codes or unusual noises. Regular cleaning and lubrication can prevent many of these issues. Always use the recommended needle type and thread quality to ensure smooth operation. If problems persist, refer to the troubleshooting guide or contact customer support for assistance. Proper maintenance and adherence to guidelines can minimize errors and extend the machine’s lifespan.
5.2 Power and Battery Issues
Power and battery issues are common in handheld sewing machines. If the machine has low power or weak stitching, check the battery installation. Ensure batteries are correctly inserted and fully charged. Avoid using mixed or old batteries, as this can cause inconsistent power supply. If the machine stops working during use, inspect for blockages or obstructions. Turn off the machine, remove batteries, and clean any debris. For USB-powered models, ensure the connection is secure and the port is not damaged. Refer to the manual for specific power requirements. Never use damaged batteries or incorrect voltage adapters, as this can damage the machine. Regularly check battery terminals for corrosion and clean them if necessary. Store batteries in a cool, dry place when not in use. Always follow the manufacturer’s guidelines for battery care to maintain optimal performance and extend the machine’s lifespan.
5.3 Thread Breakage and Tension Problems
Thread breakage and tension issues are common challenges when using a handheld sewing machine. If the thread breaks frequently, check for improper threading or tight tension. Ensure the bobbin is correctly installed and the thread is pulled through the needle eye smoothly. Adjust the tension dial according to the fabric type; tight tension can cause thread to snap. Use a high-quality sewing needle suitable for your fabric to minimize breakage. Regularly clean the machine to remove lint, which can interfere with thread flow. If the thread is too loose, tighten the tension slightly. For persistent issues, refer to the manual for specific tension settings. Always use the correct thread type and size for your fabric. Avoid pulling the fabric too tightly while sewing, as this can cause uneven tension and thread breakage.
Additional Resources
Access the PDF manual for detailed instructions. Explore online tutorials and guides for troubleshooting. Contact customer support for assistance. Refer to the warranty information for repair details.
6.1 Accessing the PDF Manual
To access the PDF manual for your handheld sewing machine, visit the official manufacturer’s website. Navigate to the support or downloads section and select your specific model. Download the PDF manual by clicking the provided link. Ensure the file is complete and virus-free before opening. If prompted, enter the verification code from the image to proceed. Save the manual for future reference. Some manuals may require Adobe Acrobat Reader for viewing. If the manual is not available on the official site, check authorized retailers or customer support. Verify the manual’s authenticity by cross-referencing the model number. Troubleshoot download issues by clearing your browser cache or contacting technical support. Always use the official manual for accurate instructions and safety guidelines.
6.2 Online Tutorials and Guides
Online tutorials and guides provide step-by-step instructions for using your handheld sewing machine. Visit YouTube or manufacturer websites for video tutorials that demonstrate threading, stitching, and troubleshooting. Many models, like the Sunbeam SB011 or Singer Stitch Sew Quick, have dedicated guides. Search for your specific model number along with terms like “handheld sewing machine tutorial” to find relevant content. Photo instructions and interactive guides are also available on sewing communities and forums. These resources often include tips for maintaining your machine, such as cleaning and lubrication. Additionally, some websites offer live webinars or Q&A sessions with experts. Utilize these resources to master basic and advanced sewing techniques. Always ensure the tutorials are from trusted sources to avoid incorrect or unsafe practices. Exploring these guides will help you get the most out of your handheld sewing machine.
6.3 Customer Support and FAQs
For assistance with your handheld sewing machine, contact customer support via phone, email, or live chat on the manufacturer’s website. Many brands, such as Singer and Sunbeam, offer 24/7 support. FAQs sections on official websites address common issues like threading, needle replacement, and error codes. Check the PDF manual for troubleshooting guides specific to your model. Warranty details are also available online; ensure your product is registered for coverage. Visit forums or community pages for user-shared tips and solutions. If you encounter issues, refer to the FAQs before contacting support for faster resolution. Additional resources, such as repair centers and replacement part orders, can be found on the official website. Always verify support channels to ensure authenticity and avoid unauthorized services.
6.4 Warranty and Repair Information
Your handheld sewing machine is backed by a limited warranty covering manufacturing defects for a specified period, typically one to five years. Register your product on the manufacturer’s website to activate the warranty. For repairs, contact authorized service centers or the manufacturer directly. Unauthorized repairs may void the warranty. Refer to the PDF manual for detailed warranty terms and conditions. Genuine replacement parts are recommended to maintain warranty validity. Repair information and troubleshooting guides are often included in the manual or available online. Ensure to follow proper maintenance procedures to avoid voiding the warranty. For international customers, check regional warranty policies. Keep the purchase receipt and registration confirmation for warranty claims. Visit the official website for a list of approved repair centers and to submit warranty claims online.